Mastering Image Prep for Stunning Metal Prints

Frequently Asked Questions
1. What are metal prints?
2. What are the benefits of using metal prints?
3. How should I prepare my images for metal printing?
4. What color profiles should I use for metal printing?
5. What should I consider before ordering a metal print?
Creating beautiful metal prints starts long before you transfer your images onto the metal. Proper preparation is essential to ensure your prints not only look stunning but also stand the test of time. Whether you're crafting personalized adventure metal signs or other fabulous pieces, understanding the nuances of image preparation can elevate your work to a whole new level. In this guide, we'll explore how to prepare your images for metal prints, ensuring they shine brightly and create a lasting impression.
Understanding Metal Prints
Metal prints are an innovative way to showcase your favorite images. Unlike traditional prints, which rely on paper, metal prints use a unique aluminum substrate that gives a glossy, vibrant finish. This medium enhances the colors and details of any image, making it ideal for bright and colorful designs.
The Unique Benefits of Metal Prints
- Durability: Metal prints are resistant to fading, scratches, and moisture, making them ideal for indoor and outdoor display.
- Vibrant Colors: The printing process infuses dyes directly into the metal, resulting in vivid colors and high contrast.
- Modern Aesthetic: Metal prints offer a sleek, contemporary look that can elevate any decorating style.
Preparing Your Images for Metal Prints
Now that you understand the advantages of metal prints, let’s focus on how to prepare your images for this unique medium. The quality of your metal prints relies heavily on the initial image quality and resolution. Here’s a step-by-step guide to help you along the way:
Choose the Right Image
Selecting the best image is your first step. Consider the following factors:
- Resolution: Aim for high-resolution images (at least 300 DPI) to ensure clarity and detail.
- Color Balance: Images with rich, contrasting colors typically translate best onto metal.
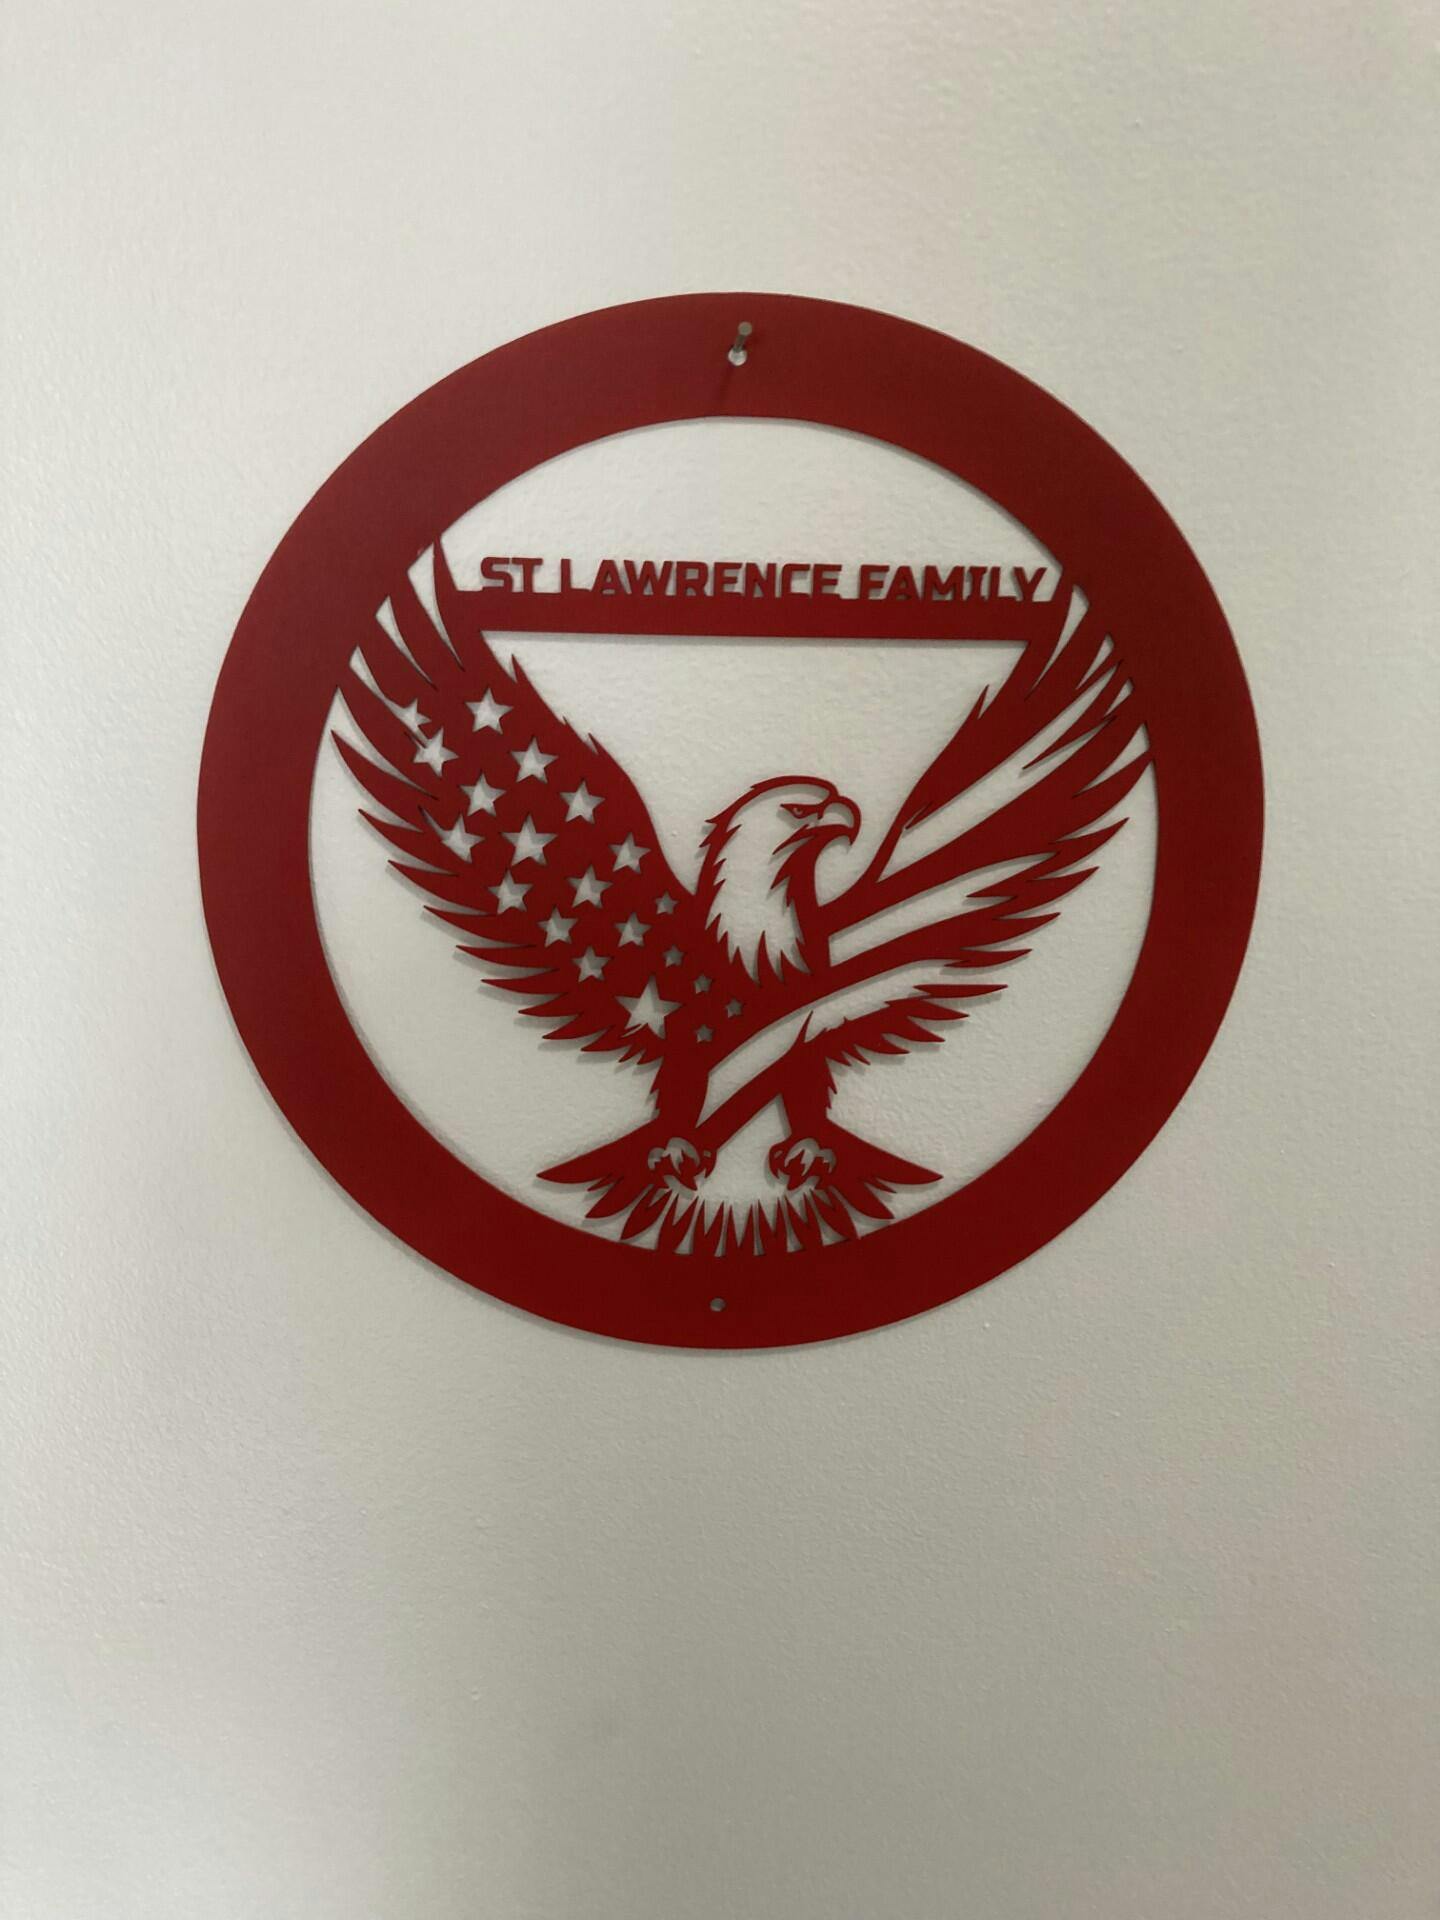
- Subject Matter: Vibrant landscapes or dynamic scenes often create the most striking prints. Personalized adventure metal signs can be especially appealing if they feature memorable moments.
Editing Your Image
Once you've chosen your image, it’s time to edit it. Proper editing can significantly enhance its appearance on metal. Here are some tips:
- Adjust Brightness and Contrast: Metal prints can sometimes appear darker than standard photos, so adjust the brightness and contrast accordingly.
- Enhance Colors: Boosting saturation can make colors pop, but be cautious not to overdo it.
- Sharpen Your Image: Adding slight sharpness can enhance details when printed, giving a clean and polished look.
Choose the Right File Format
The format you save your image in can affect the final print quality. For the best results, consider:
- JPEG: A widely accepted format, good for photographs.
- TIFF: Ideal for preserving image quality, particularly with layers or for professional prints.
- PNG: Great for images that require transparency but may not suit all print scenarios.
Understanding Color Profiles and Print Settings
For the best outcome, understanding color profiles and print settings is crucial in preparing your images for metal prints.
Utilizing Color Profiles
Using the correct color profile ensures your prints come out vibrant and true to your original design.

- RGB vs. CMYK: For metal prints, it's often recommended to work in the RGB color space, as it has a wider range of colors.
- Embed Color Profiles: Make sure to embed your chosen color profile when exporting your image, as this helps maintain consistency across different devices.
Print Settings and Guidelines
Once you've edited your image and have the right file format, it's time to think about the print settings:
- Scaling: Make sure to scale your image to the desired print size without stretching or distorting it.
- Check Orientation: Ensure that the image’s orientation matches your intended print layout.
- Preview Before Printing: Use a soft proofing tool to preview how the image will look before printing. This step can help you catch any adjustments needed beforehand.
Special Considerations for Metal Prints
Preparing your images for metal prints involves some unique considerations that differentiate them from traditional print methods.
Understanding the Metal Surface
The type of metal surface can affect the final outcome. Whether you choose a glossy or matte finish, each has its characteristics:
- Glossy Finish: Enhances colors and detail but may reflect light.
- Matte Finish: Offers a subdued look while minimizing glare, allowing for vibrant colors without distractions.
Test Prints
Consider creating test prints of your images, especially if you're producing personalized adventure metal signs in various sizes or specifications. A test print allows you to evaluate color accuracy, scale, and detail before committing to a full-sized version. This step can save time and resources in the long run.
Final Touches Before Ordering Metal Prints
After you're satisfied with your edited and prepared image, there are a couple of final steps before ordering your metal print.
Double-Check for Errors
Go through your image once more to look for any typographical errors, pixelation, or unwanted elements that may have been overlooked during earlier edits. A final pass will ensure your image is print-ready.
Communicate with Your Printer
If you’re working with a professional printing service, don’t hesitate to reach out and ask about specific requirements. They can provide guidance regarding file formats, resolutions, or color profiles specific to their printing process.
Showcasing Your Metal Prints
Once you receive your beautifully printed metal signs, consider how best to display them:
- Hanging Options: Metal prints can come with various hanging options. Choose what suits your space best, whether it be floating mounts or traditional frames.
- Placement: Consider the lighting and the background of the wall for a stunning visual impact. Personalized adventure metal signs can evoke feelings of nostalgia and joy, making them perfect for living rooms or hallways.
- Combination Displays: Pair your metal prints with other home décor items to create a cohesive look that reflects your personality.
A Lasting Touch of Artistry
Preparing your images for metal prints is an art form in itself. By following these guidelines, you can ensure that every personalized adventure metal sign you create is nothing short of spectacular. The care and attention you put into preparing your images not only enhances their beauty but also contributes to lasting memories captured forever in a modern and captivating way. Embrace the journey of preparation, and let your creativity shine through in every print!