Create Stunning Laser Cut Designs for Unique Home Decor

Frequently Asked Questions
1. What is laser cutting?
2. What materials can I use for laser cutting?
3. What design software can I use for laser cutting projects?
4. What should I consider when designing my artwork?
5. What safety precautions should I take while laser cutting?
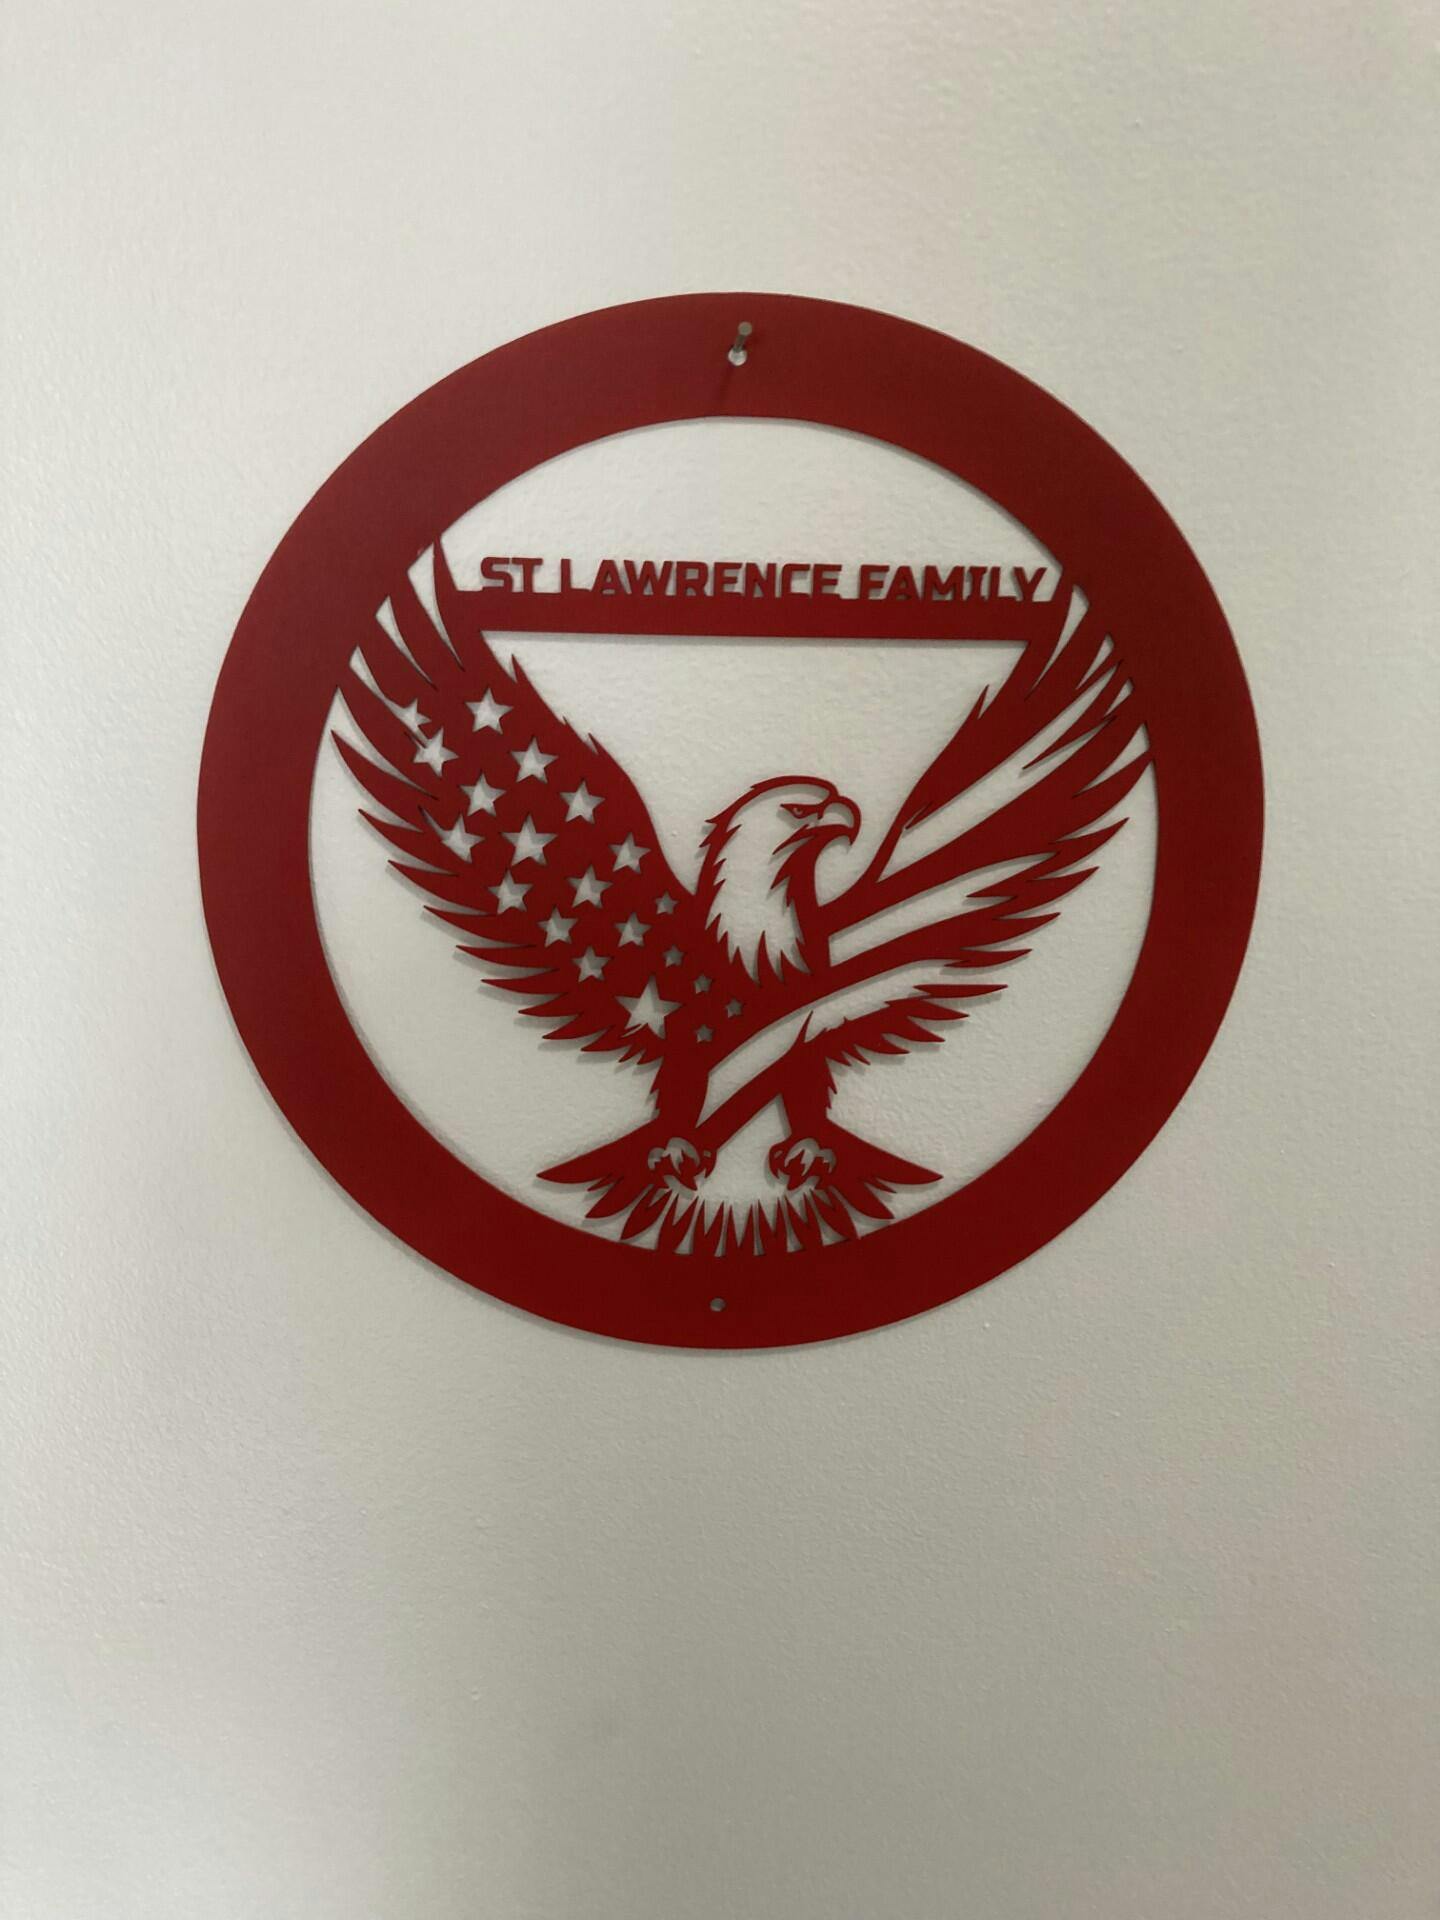
Are you looking to elevate your home decor with personalized touches? Laser cutting technology allows you to create one-of-a-kind designs that express your style and infuse your space with creativity. Whether you're an avid DIY enthusiast or just starting, this step-by-step guide will walk you through the process of creating your own unique home decor using laser cut designs. Let’s dive in!
Understanding the Basics of Laser Cutting
Before embarking on your laser-cutting journey, it’s essential to understand what laser cutting is. This process involves using a high-powered laser to cut, engrave, or etch materials like wood, acrylic, and metal with precision. The versatility of laser cutting makes it an ideal tool for crafting unique home decor that stands out.
Types of Materials for Laser Cutting
- Wood: Great for creating rustic and warm designs.
- Acrylic: Perfect for bright, vibrant, and modern decor.
- Metal: This material gives a sleek and industrial feel.
- Paper: Ideal for delicate and intricate designs.
Step 1: Find Your Inspiration
Every great design starts with inspiration. Browse through Pinterest, home decor blogs, and even Instagram to gather ideas. Consider the following:
- What themes resonate with you (rustic, modern, bohemian)?
- Who is your target audience? (Is your decor for personal use or for selling?)
- What shapes and forms will enhance your unique home decor?
Step 2: Choose Your Design Software
The next step is to convert your ideas into a digital format. Popular design software for laser cutting includes:
- Adobe Illustrator: A professional tool great for vector artwork.
- Inkscape: A free, open-source alternative to Illustrator.
- CorelDRAW: Another popular choice among designers.
Regardless of the software you choose, ensure it can export files in a format compatible with your laser cutter, such as SVG or DXF.
Step 3: Design Your Artwork
Now that you have your software ready, it’s time to create your laser cut design. Here are some tips:
Keep It Simple
Especially for beginners, starting with simple designs can help you understand the cutting process better. Avoid extremely intricate details that may not cut well.
Use Layers Wisely
If you're incorporating multiple materials or colors, design your artwork in layers. This way, each part can be cut separately, allowing you to assemble them cohesively later.
Consider Proportions and Dimensions
When designing, consider the scale of your unique home decor piece. Measure your target space before finalizing dimensions to ensure your design fits perfectly.
Step 4: Test Your Design
Before cutting your final design, it’s prudent to run tests. Here’s how:
- Material Testing: Use scrap pieces to experiment with settings like speed, power, and frequency for different materials.
- Scale Testing: Test several sizes to see what works best in your setting.
- Precision Testing: Ensure the design's edges are smooth and the details are as expected.
Step 5: Prepare Your Laser Cutter
Once you've finalized your design and run your tests, it’s time to prepare your laser cutter. Here’s how:
- Clean the Machine: Make sure the laser cutter is clean and free of any debris.
- Align the Material: Secure your materials within the cutter properly to avoid any misalignments during the cutting process.
- Upload Your Design: Transfer your finalized design file to the laser cutter’s software.
Step 6: Cutting Your First Piece
With everything set up, it’s time for the exciting part — the actual cutting! Monitor the process to ensure everything goes smoothly. If you notice any issues, catch them early to prevent any wastage of materials.
Step 7: Assemble Your Unique Home Decor Piece
After the laser cutting process, carefully remove your piece and inspect it for any imperfections. Depending on your design, you might need to:
- Sand the edges for a smooth finish.
- Assemble multiple parts (if applicable).
- Add paint or finish for the desired look.
Step 8: Showcase Your Creation
Now that you’ve created a stunning unique home decor piece, it’s time to display it! Here are some tips for showcasing your laser cut art:
- Choose the Right Location: Select an area where it can be appreciated.
- Pair with Complementary Decor: Ensure your piece harmonizes with other decor elements.
- Consider Lighting: Good lighting can enhance the beauty of your piece.
Exploring Further Opportunities
Now that you’ve mastered creating your unique home decor with laser cutting, think about the possibilities. You can:
- Create custom pieces for friends and family.
- Start an online shop to sell your designs.
- Experiment with larger projects for more impact.
The skills you acquire in designing and laser cutting can lead to a fulfilling creative outlet or even a side business dedicated to unique home decor.
Don’t Forget About Safety
While laser cutting is incredibly rewarding, safety should always come first. Follow these guidelines:
- Wear proper safety gear, including goggles and masks.
- Work in a well-ventilated area to avoid inhaling fumes.
- Follow the manufacturer's guidelines for machine operation.
Make It Your Own
Creating your own laser cut designs is not just about crafting unique home decor; it's about expressing yourself and telling your story through your creations. With a sprinkle of imagination, a dash of creativity, and a commitment to quality, your designs will not only beautify your space but will also leave a lasting impression on anyone who visits.
So what are you waiting for? Dive in, unleash your creativity, and create stunning pieces that tell your unique story. Happy crafting!